LEARN IT TOGETHER
Your first
machine load.
Follow one load from label to fold.
A practical picture lesson for teens and adults. Follow one matching example, then use your own labels and directions.
Before Play: full clothing tags, exact washer manual, product label.
Clothes with complete readable tags. Your exact washer’s instructions. The suitable cleaning product’s whole label.
Missing or conflicting directions? Stop and ask the owner or maker.
Find the exact manual · Make a note for your machine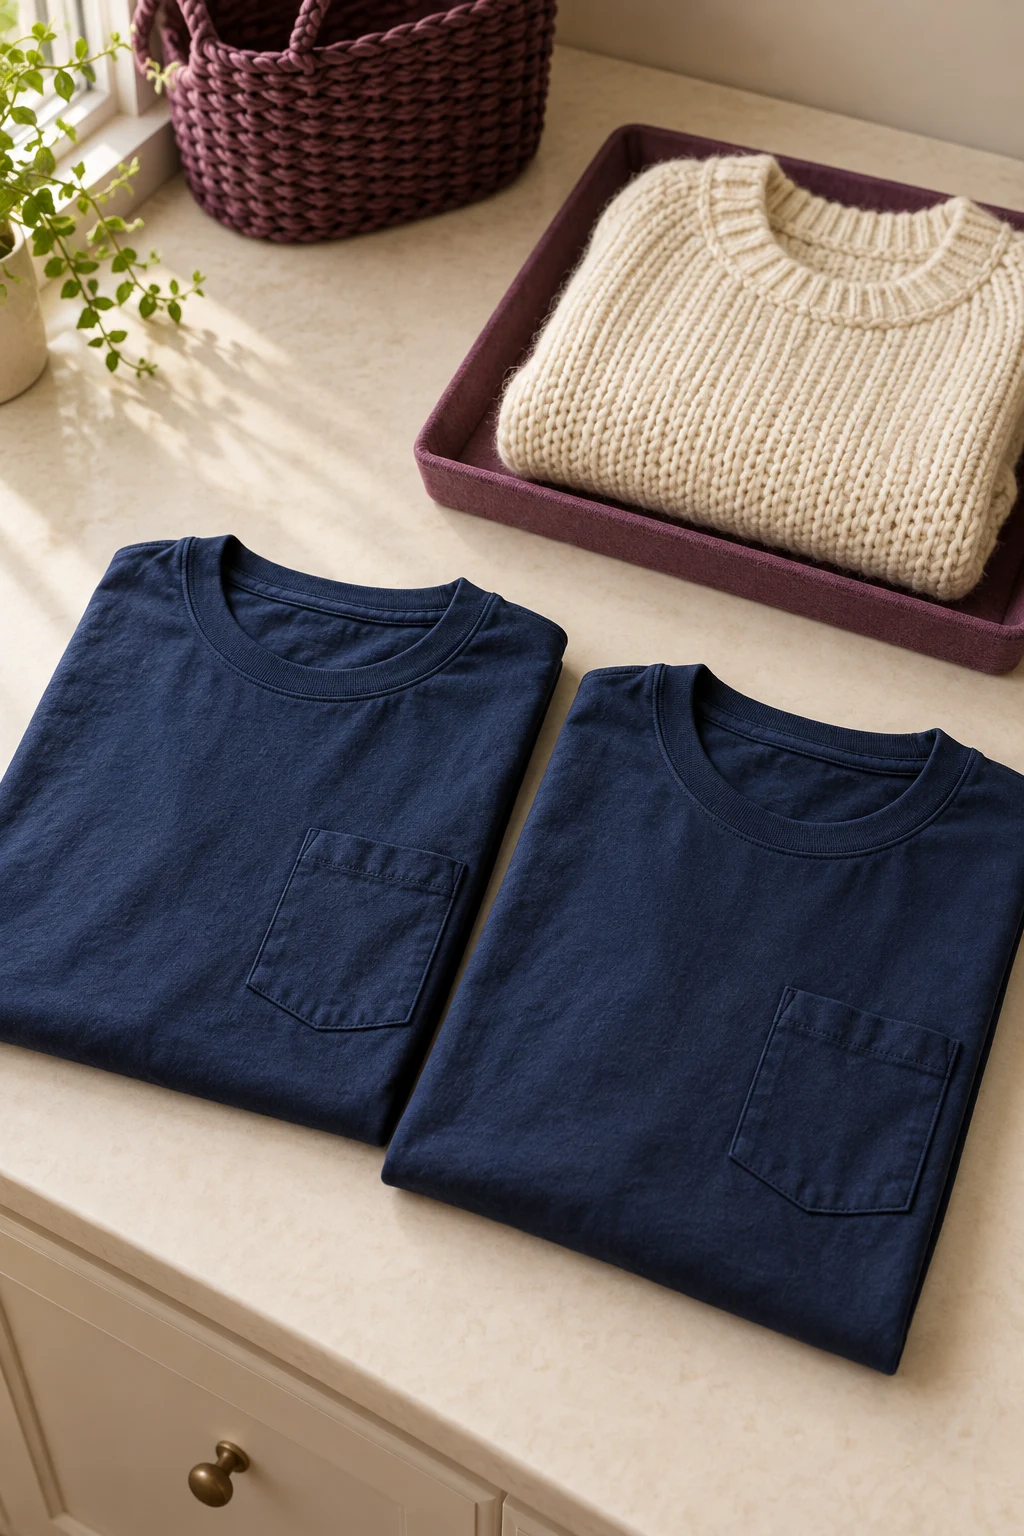
Stain help ↗Find my washer manual ↓
Illustrative scenes and educational care cards. Use your actual item label, product directions and machine manual. Read the full checklist before starting.
Choose a checklist step. Step 1 has two pictures: the tees and the sweater. The overview and final reminder are unnumbered.
Return to the selected picture ↑RETURNING TO THIS GUIDE
Your seven-step reference.
First time? Read the full picture checklist and care cards first. For every load, use the actual item tags, machine manual and product label. Missing or conflicting directions? Stop and ask. Young learners work with a responsible adult.
Keep your actual directions open beside the machine. The optional machine note is not required; it does not approve a load.
- Step 1 · Read each care tag
Set aside hand-wash or dry-clean-only items. Stop if a label is missing, unreadable or unfamiliar. Do not guess from the fabric name or photo.
Full picture and care details - Step 2 · Build a matching load
Separate whites, colours, fabric types and heavily soiled items. Items must also suit the same wash instructions. Matching symbols alone do not group a load.
Full picture and care details - Step 3 · Empty pockets; check for marks
Empty every pocket. Set aside an unresolved stain until you have its exact care guide; this checklist does not choose a stain treatment.
Full picture and care details - Step 4 · Check the washer and detergent
Follow the washer manual and detergent label for loading, product type, amount, where and when to add it. Do not overload. Close and put products away immediately.
Full picture and care details - Step 5 · Choose the wash settings
Use only a cycle and temperature allowed by every care tag and product label. Check the machine manual. Ask for help before starting if unsure.
Full picture and care details - Step 6 · Check before drying
Unload promptly. If a mark remains, keep that item out of dryer heat and open its care guide. A wash does not prove the mark is gone.
Full picture and care details - Step 7 · Dry as the tag directs
Use the permitted drying method and settings. Before using a dryer, clean its lint screen as its manual directs. Once fully dry, fold or hang clothes for storage.
Full picture and care details
Find the exact manual · Stain help ↗ · Optional machine note
Leave detergent packets and adult-only methods to an adult. Keep children away from products. Fuel, oil-soaked or unknown chemical contamination stays out of this beginner load; get adult and manufacturer guidance.
Personal notes · read the actual labels and directions before use.
KEEP BY YOUR MACHINE
A note from your actual directions.
Write or print a note for this machine
Copy the exact directions for this load. Do not copy the example’s settings or guess. Read the original labels and manual before use; a note does not approve a load.
Before every load: read each complete tag, check pockets and marks, confirm the directions still apply, and stop if anything is missing or conflicts. Do not use dryer heat on a remaining mark. Young learners work with a responsible adult; detergent packets and adult-only methods stay with an adult.
These notes are temporary. Reloading or closing this page clears them. Print this note to keep a copy. Nothing is sent or saved automatically.
Full picture checklist · read before your first load
THE COMPLETE CHECKLIST
Seven steps. One worked example.
 STEP 1
Read each care tag
TEES A + B · FULL EXAMPLE CARE 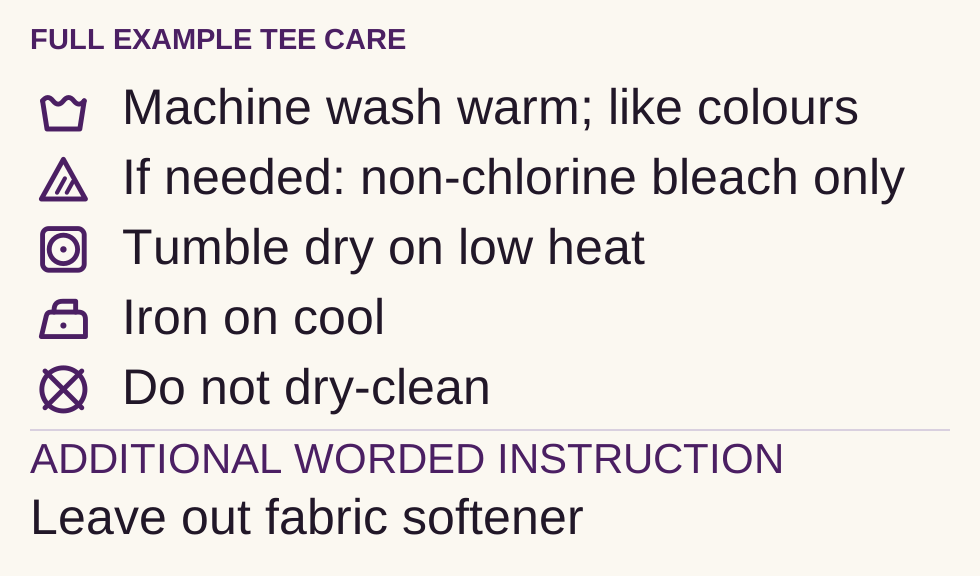
SWEATER C · OUT OF THIS LOAD 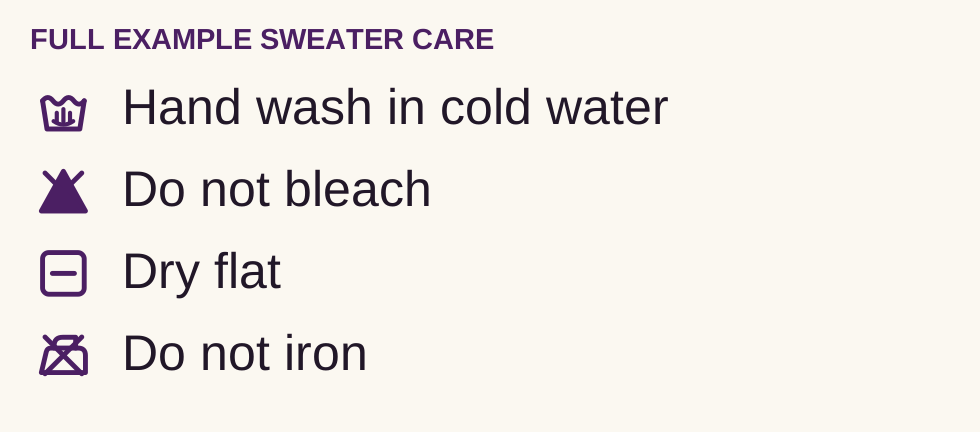
Worded care cards show the makers’ complete published instructions. The fabric-softener note is an additional instruction from the maker, separate from the U.S. care-symbol rows. Illustrative garments; your real item label wins. See the care-card sources.
Set aside hand-wash or dry-clean-only items. Stop if a label is missing, unreadable or unfamiliar. Do not guess from the fabric name or photo.
Show this step in the video- STEP 2
Build a matching load
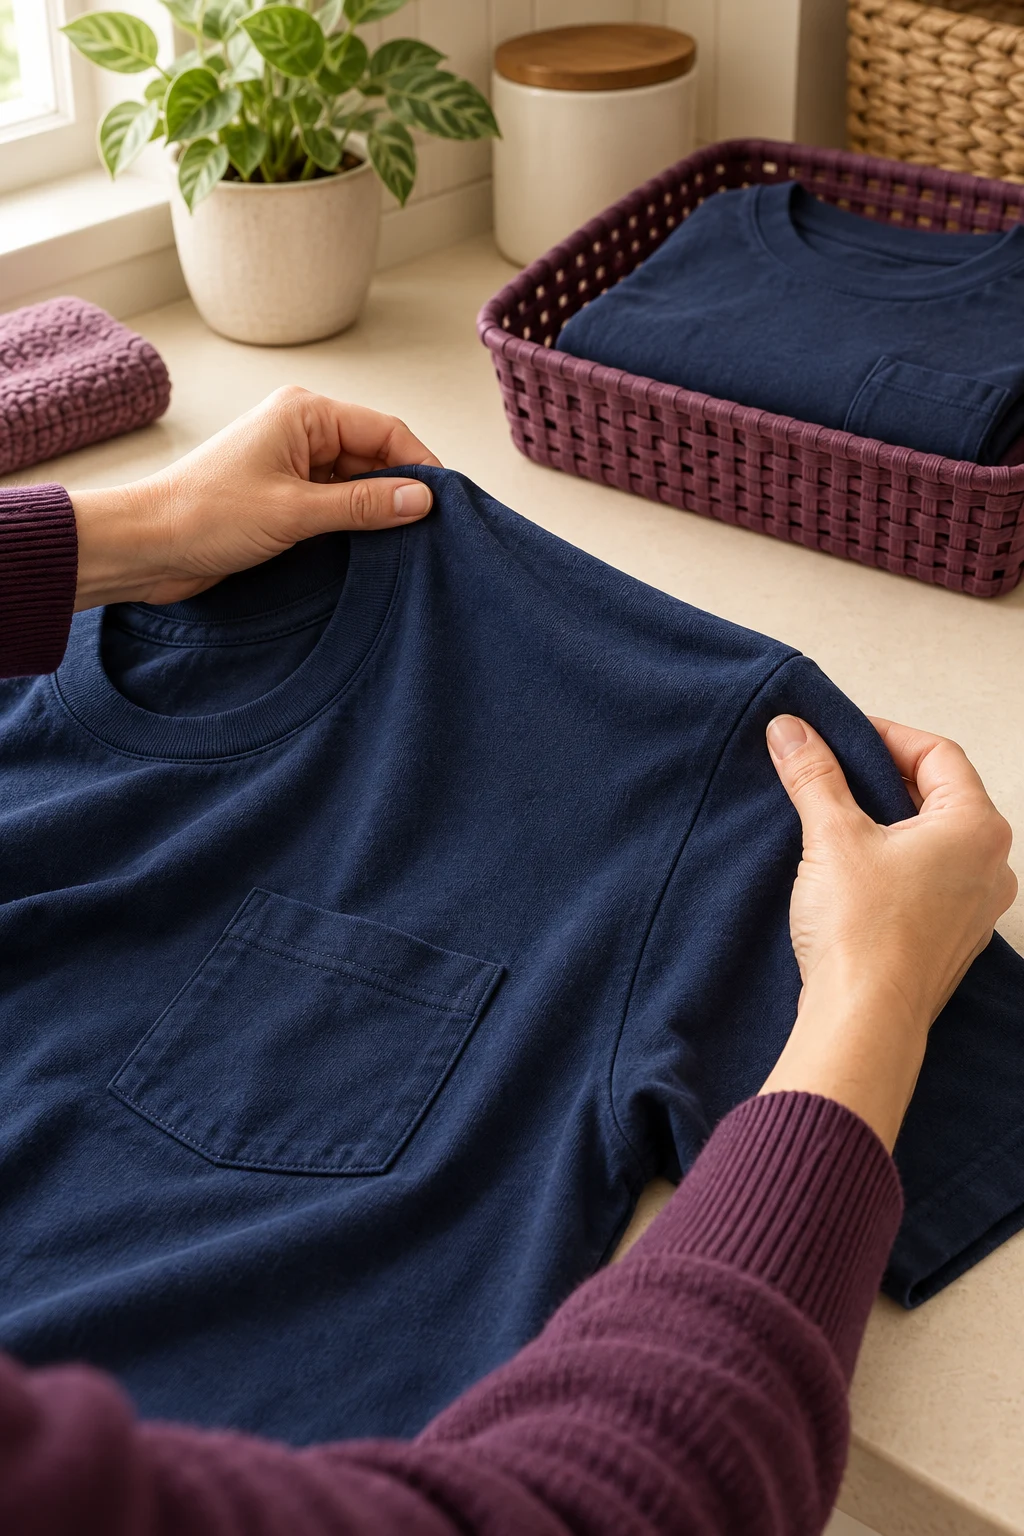
A + B: togetherNavy + navy100% cotton jerseyLight ordinary soilNo unresolved marksSame complete care setC: separateWool-blend sweaterHand wash coldDifferent fabric + careThese are declared facts of this example. A photograph or a matching icon cannot establish them.
Separate whites, colours, fabric types and heavily soiled items. Items must also suit the same wash instructions. Matching symbols alone do not group a load.
Show this step in the video 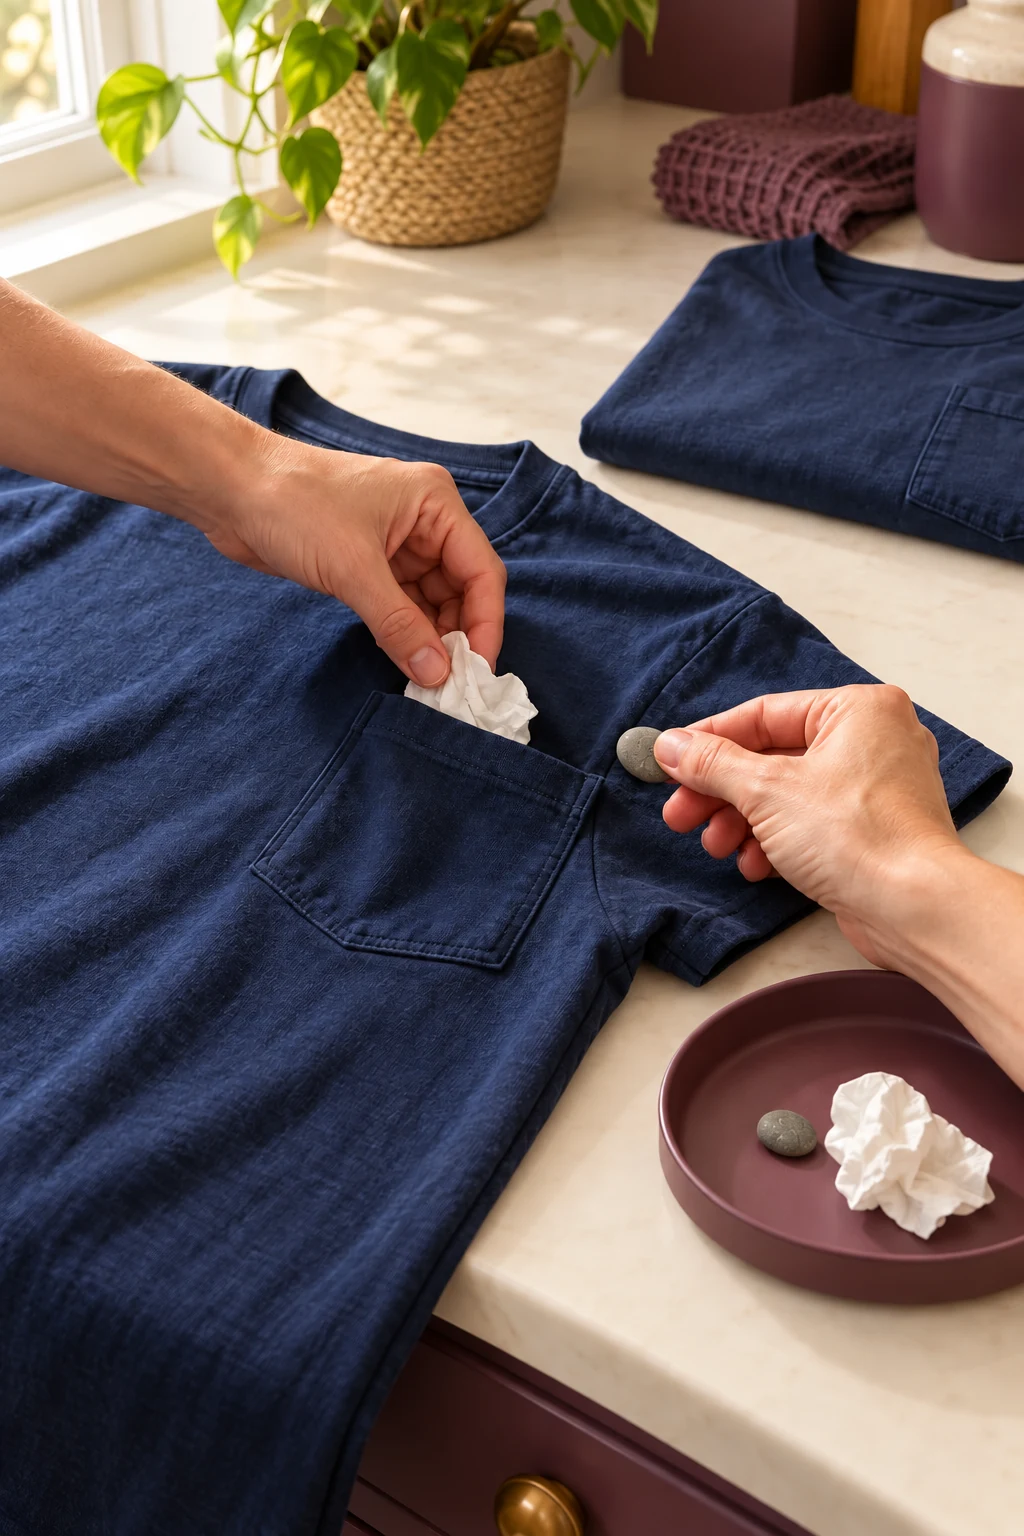 STEP 3
Empty pockets; check for marks
Check both pockets and every mark.Stain help: find the exact guide ↗Empty every pocket. Set aside an unresolved stain until you have its exact care guide; this checklist does not choose a stain treatment.
Show this step in the video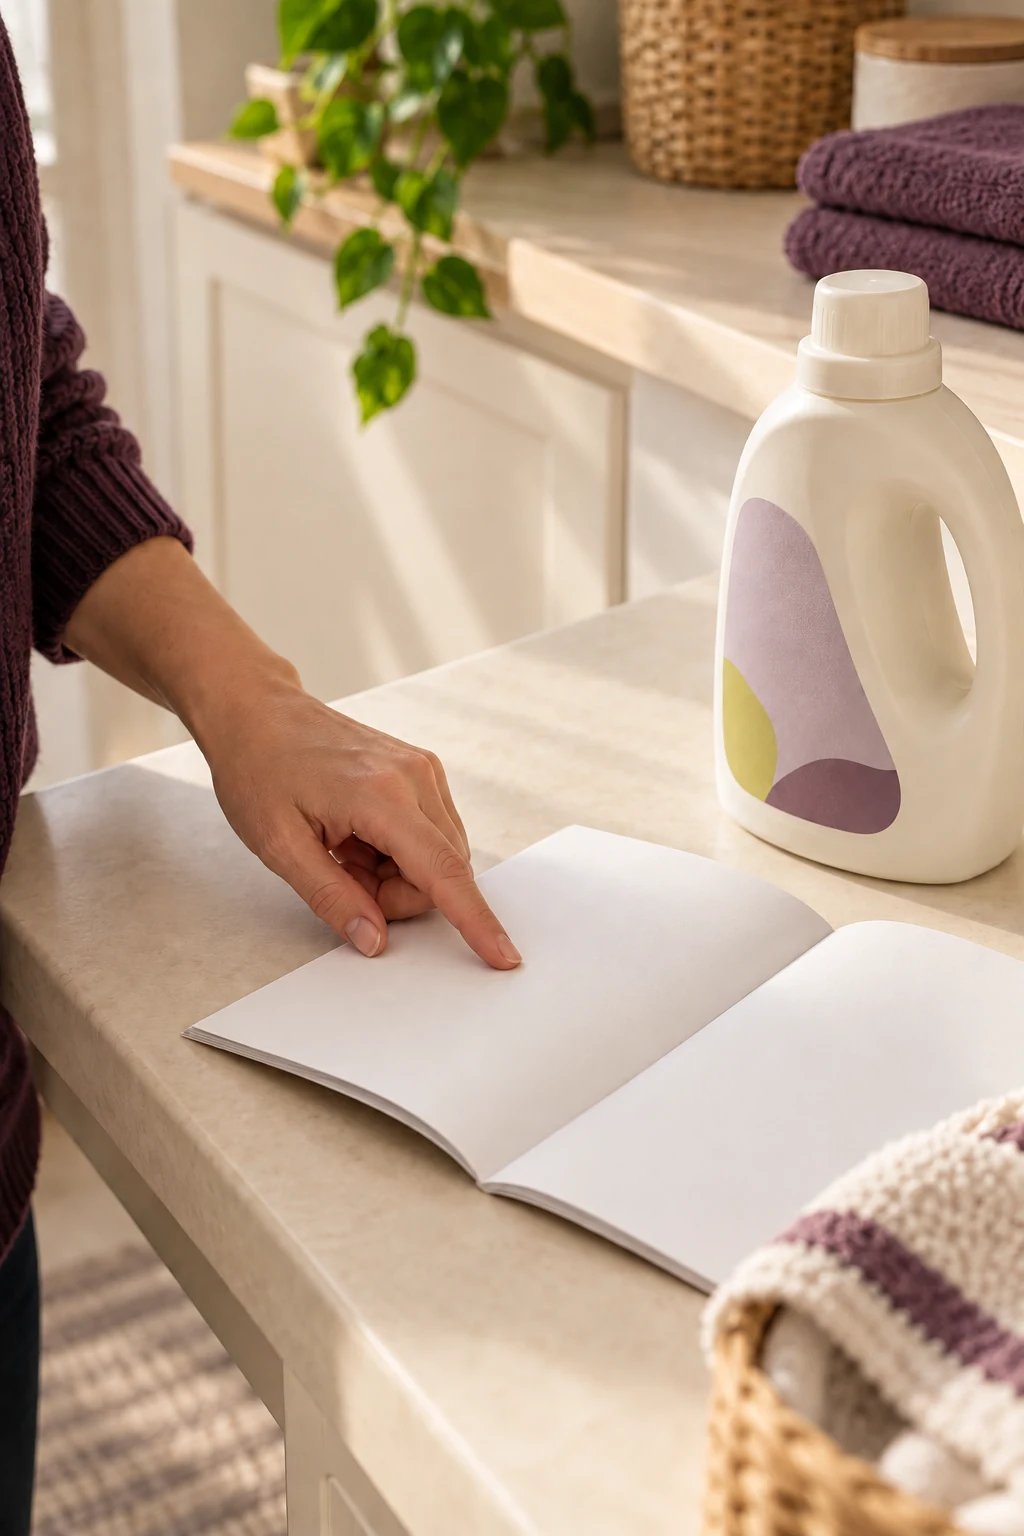 STEP 4
Check the washer and detergent
YOUR MANUALLoad · where · whenPRODUCT LABELType · amountFind your washer manual ↓. The example supplies no dose or compartment.
Follow the washer manual and detergent label for loading, product type, amount, where and when to add it. Do not overload. Close and put products away immediately.
Show this step in the video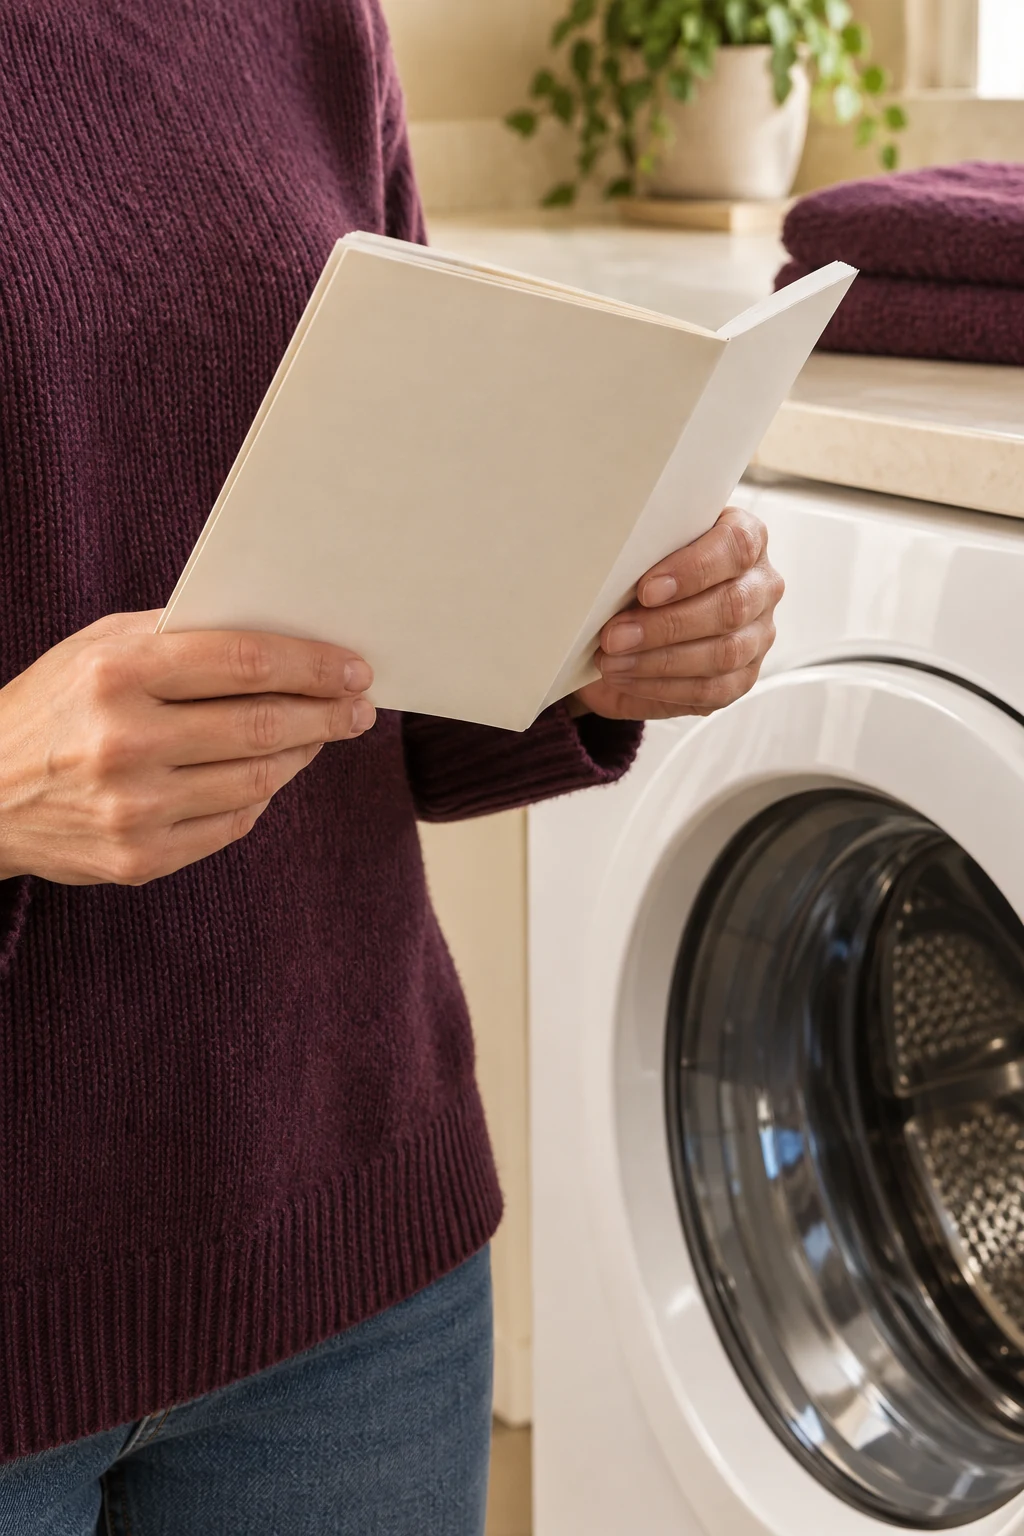 STEP 5
Choose the wash settings
Example A + B: warm wash.Both full care sets agree. Check the product label agrees too. Your actual manual must still identify the suitable cycle, control positions and start operation.Open the manual lookup ↓Use only a cycle and temperature allowed by every care tag and product label. Check the machine manual. Ask for help before starting if unsure.
Show this step in the video- STEP 6
Check before drying
Remaining mark? No dryer heat.Stain help: open that item’s guide ↗Unload promptly. If a mark remains, keep that item out of dryer heat and open its care guide. A wash does not prove the mark is gone.
Show this step in the video 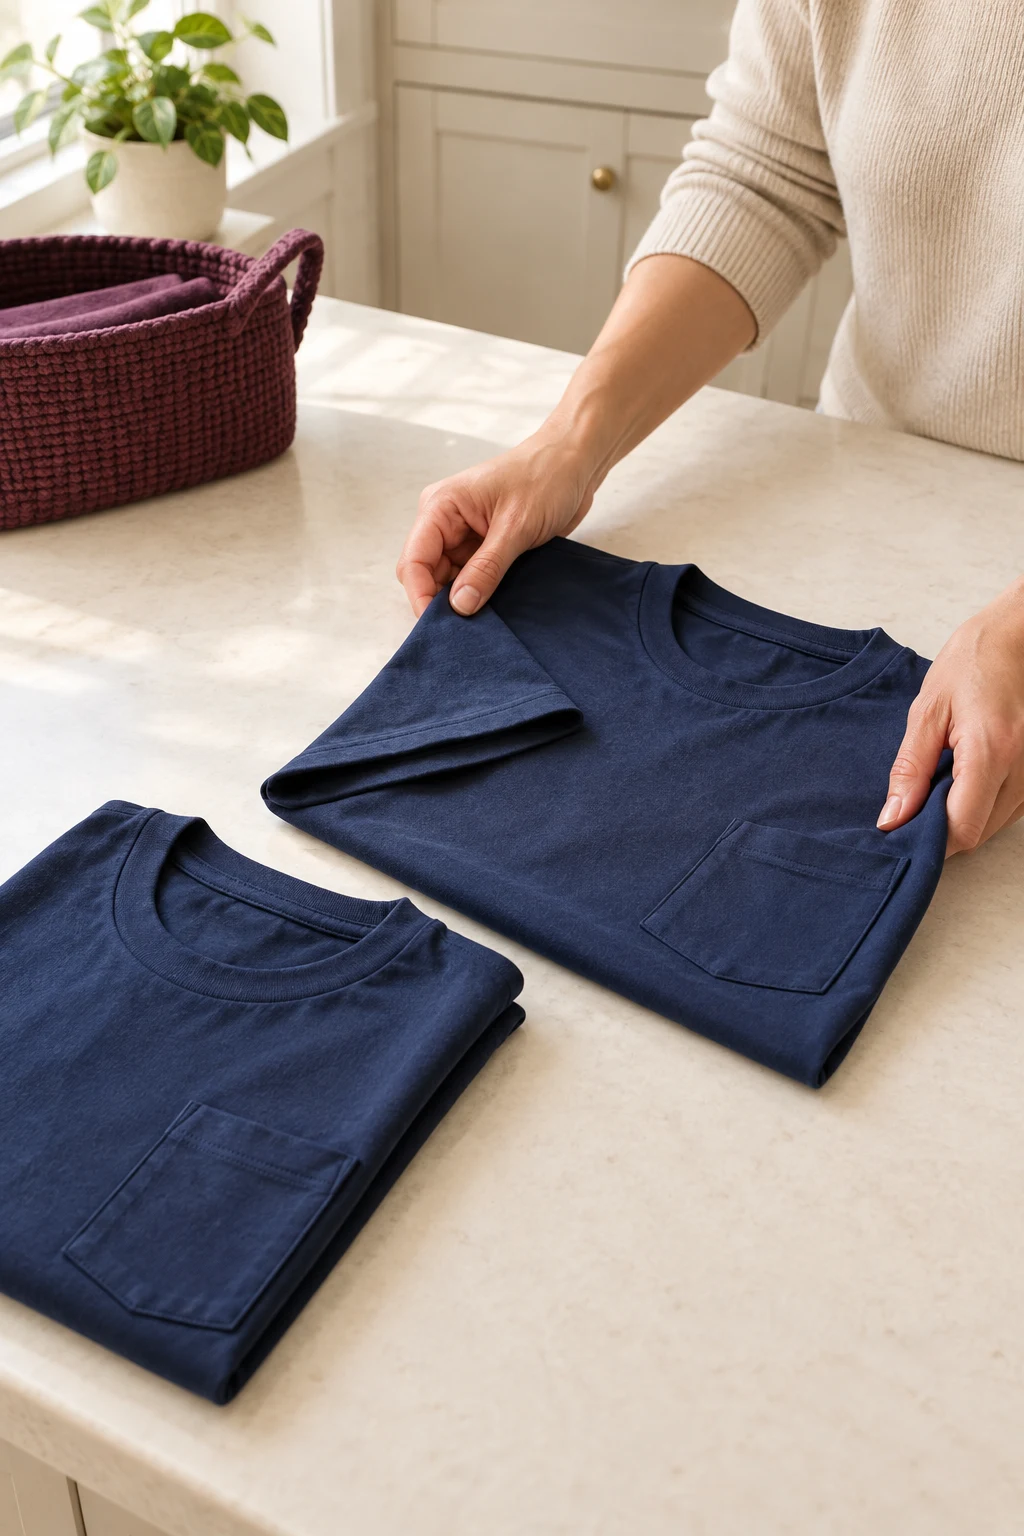 STEP 7
Dry as the tag directs
Example A + B: low tumble heat.Only after checking for marks. Clean the lint screen and follow your dryer manual. Fold once fully dry.Use the permitted drying method and settings. Before using a dryer, clean its lint screen as its manual directs. Once fully dry, fold or hang clothes for storage.
Show this step in the video
For your own load, the actual item label, machine manual and product directions stay in charge. Use the example to make the comparison; choose your own settings from those directions.
YOUR MACHINE, YOUR MANUAL
Find the exact model first.
Use the brand and model number from your washer’s model label. These official lookups also explain where to find that number. Choose the owner’s or use-and-care manual for that exact model.
Before starting, find the suitable cycle, loading instructions, detergent type, where and when to add it, and the start/pause controls. Read the product label for its amount. If you cannot find clear directions, ask the owner or maker before using the machine.
For another brand, use that maker’s official support. A shared or dorm washer may also have instructions from its owner. Young learners should work with a responsible adult. Detergent packets and methods marked adult-only stay with an adult.
About this example
A + B are declared navy, 100% cotton jersey tees with light ordinary soil and no unresolved marks. Their care cards contain the complete care set currently published for the Carhartt K87. C uses the complete published care set for the Patagonia 51025 wool-blend sweater. The photographs illustrate the scenario and are not product photographs or a physical laundry test. The full care information is shown in our own readable educational layout. No instructions for a hand-wash method are given here.
Where these steps come from
General laundry and label guidance from these primary references. They do not replace directions for your garment, machine or product.
- ACI: Laundry Basics
- ACI: Class of Clean
- Whirlpool: How to Do Laundry in 8 Steps
- Whirlpool: Cleaning the Lint Screen on a Dryer
- ACI: Laundry Safety Tips
- FTC: Care Labeling Rule text
- FTC-hosted U.S. care-symbol reference: the pictured example
Read the video transcript
Complete educational care sets
Example tees A + B: machine wash warm with like colours; non-chlorine bleach only if needed; tumble dry low; no fabric softener; cool iron; do not dry-clean.
Example sweater C: hand wash cold; no bleach; dry flat; do not iron. Keep it out of this machine load.
Two tees. One matching load.
Our example has two matching navy tees and one sweater that needs different care. Read the full checklist before starting.
Read both full care labels
Both example tees use this full care set. Care limits are not a list of products to add. Your actual label wins.
The sweater stays out
This wool-blend sweater says hand wash cold. It does not join the machine load. Unclear labels, unresolved stains or contamination also need help first.
Why these two go together
Both tees are navy, 100% cotton jersey and lightly soiled, with no unresolved marks. Both care sets agree. Matching icons alone would not be enough.
Empty every pocket
Empty both pockets and check for marks. Set an unresolved stain aside and open Stain help. Leave packets and adult-only methods to an adult; keep children away from products.
Load + measure from directions
Your washer manual supplies loading, product type, where and when to add it. The product label supplies the amount. Do not overload. Close and put products away immediately.
Warm wash for this example
Both example care sets say warm. Check the detergent label agrees. Your manual selects the suitable cycle and shows its controls and start operation. If anything conflicts or is unclear, stop and ask.
Check each tee before drying
Unload promptly. A remaining mark means no dryer heat for that item: open Stain help for its exact guide. A wash does not prove a mark is gone.
Low dryer heat, then fold
These example care sets allow low tumble heat. Only dry after checking for marks. Clean the lint screen and use the actual dryer manual. Once fully dry, fold or hang.
Use your own three directions
Use your own labels, product directions and manual. Young learners: work with a responsible adult.